The
Project menu is
used create and maintain list of projects or tasks. A project is used in
creating "Time Entries".
For example, XYC is a consulting company. The company installs and
configures applications for clients. Each installation is handled as a separate
project. Users can create a "Project" as "Installation" and use this to create
"Time Entries".
Steps to create a
Project:
-
Click on the "Green Plus Sign". This will open the
"Edit Form".
Enter the "Description" for
the project.
-
Enter "Notes" to add
additional information.
-
Enter the "Value",
"Hours" and "Rate".
-
"Value"
is the budgeted cost of the project and "Hours" is expected duration of the
project.
-
Above details are used
to compute the "Budgeted and Actual" project values.
-
"Time and Expense" report shows the "Budget, Actual and Variance". Run the
report with "Show Cost=Yes" to show the
Budget/Actual/Variance.
-
Actual "Value"is the total "Billable
Hours".
-
Rate is the default chargeable rate per
hour.
-
Delete will mark a record as
deleted.
-
Deleted records will not appear in any
lookups.
-
Edit the record and "Un-tick" delete to activate
a record.
-
"Display Order" determines the display
order of the list where projects are used.
-
Use the "Pencil" icon to edit
details.
-
Expand into the details to add "Notes" and
" Attachments ".
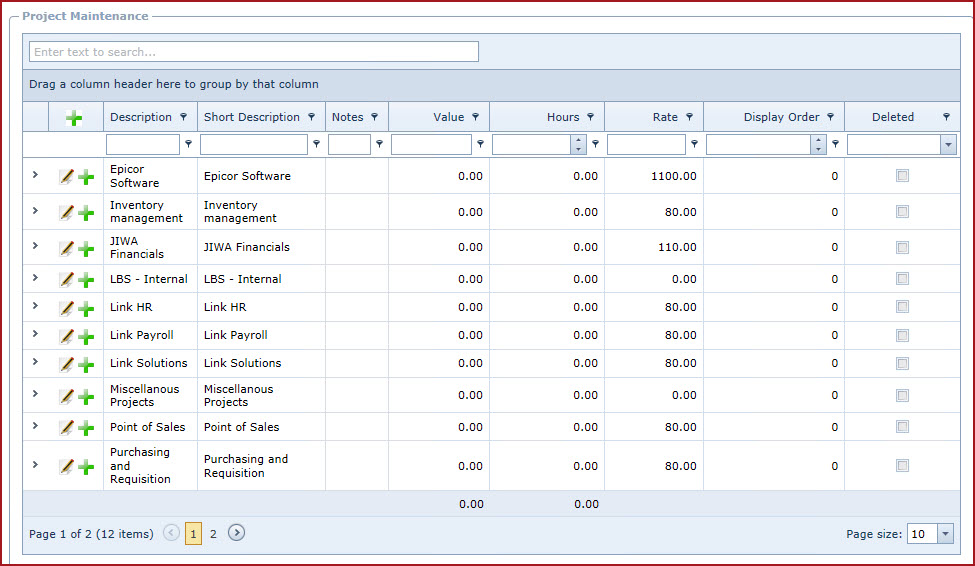
Figure
1 : Project Maintenance