Bank is
used to create and maintain bank details.
Banks for used for following features:
-
Point of Sales Customer Statements
-
Bank setup contains below
details:
-
Bank
Account Details
-
Bank Mapping - This used to map a bank with the payroll
bank.
-
For Example, the
default bank for a
company is ANZ, however there are employees whose pay are transacted to
"Westpac" and "Bank of the South Pacific"
-
Hence
the payroll officer needs to set a mapping for "Westpac" under
"ANZ".
-
The mapping code is printed in the
"Electronic Bank File" which indicates that the amount must be
transacted to Westpac.
-
When a bank is created, it corresponding
paycode is
automatically created.
Steps to create Bank:
-
Add a New Record
-
Enter below
details
-
Code - Enter a code
which can be a set of alphanumeric values to uniquely identify
each bank.
-
Description - Enter
the detailed description of the bank.
-
Notes - This is
an open text field, users can enter desired content.
-
Void - Void records
will be "Disabled" and will not appear in any lookups . Edit the record and
"UN-tick" void to activate a record.
-
Save. Click on the "Floppy Icon".
-
Click on the "Grey Arrow" next to the record. This
will expand into the details.
-
Go the "Accounts"
section.
-
Click on the "Green
Plus Sign". This will open the "Edit
Form".
-
Enter below
details:
-
Account No - Enter the bank "Account Number" of the
company.
-
Account Name - Enter the "Account Name" for the
"Account Number" in 1
above.
-
Reg No - Enter the account "Registration Number". This
is a short coded provided by the
bank.
-
Is Default - "Is Default" enabled specifies that
bank is the default bank or all transactions in the
company.
-
Void -Void records will be "Disabled"
and will not appear in any lookups . Edit the record and "UN-tick" void to
activate a record.
-
Save. Click on the "Floppy Icon".
-
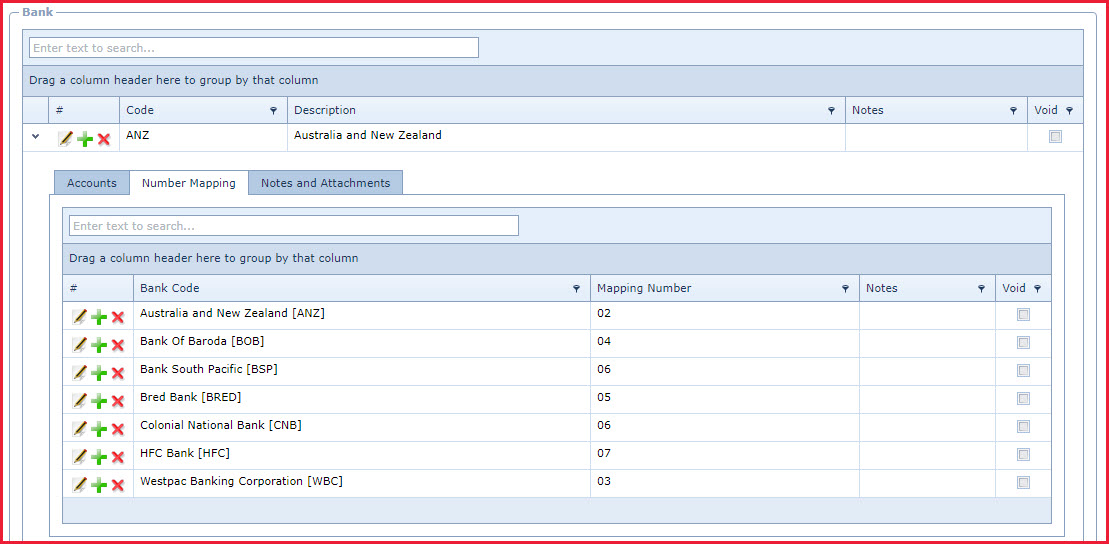
Go the "Number Mapping" tab.
-
Click on the "Green
Plus Sign". This will open the "Edit
Form".
-
Enter below
details:
-
Bank Code - Select the bank code from the
list.
-
Mapping Number - Enter the mapping
numbers.
- Mapping numbers
are provided by the bank
-
Notes - This is
an open text field, users can enter desired content.
Void - Void records
will be "Disabled" and will not appear in any lookups . Edit the record and
"UN-tick" void to activate a record.
Save. Click on the "Floppy Icon".
Figure 1: Bank
Account
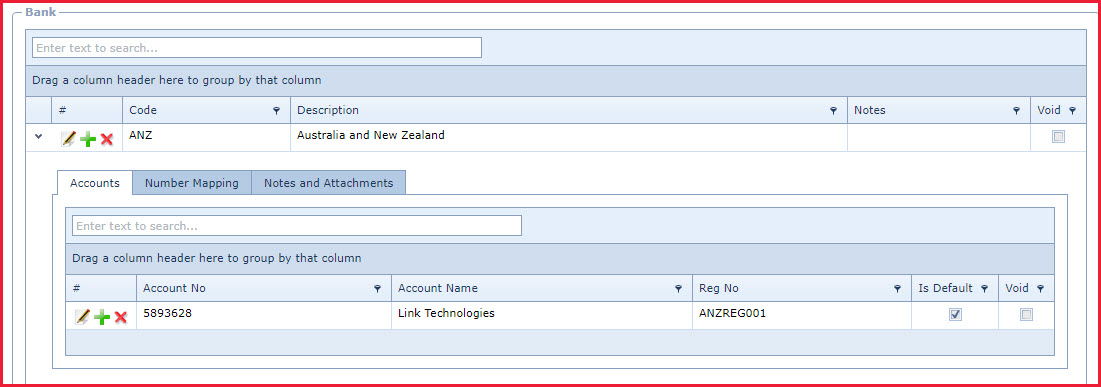
Figure 2: Bank
Mapping